Soldering Fume Extractor v4
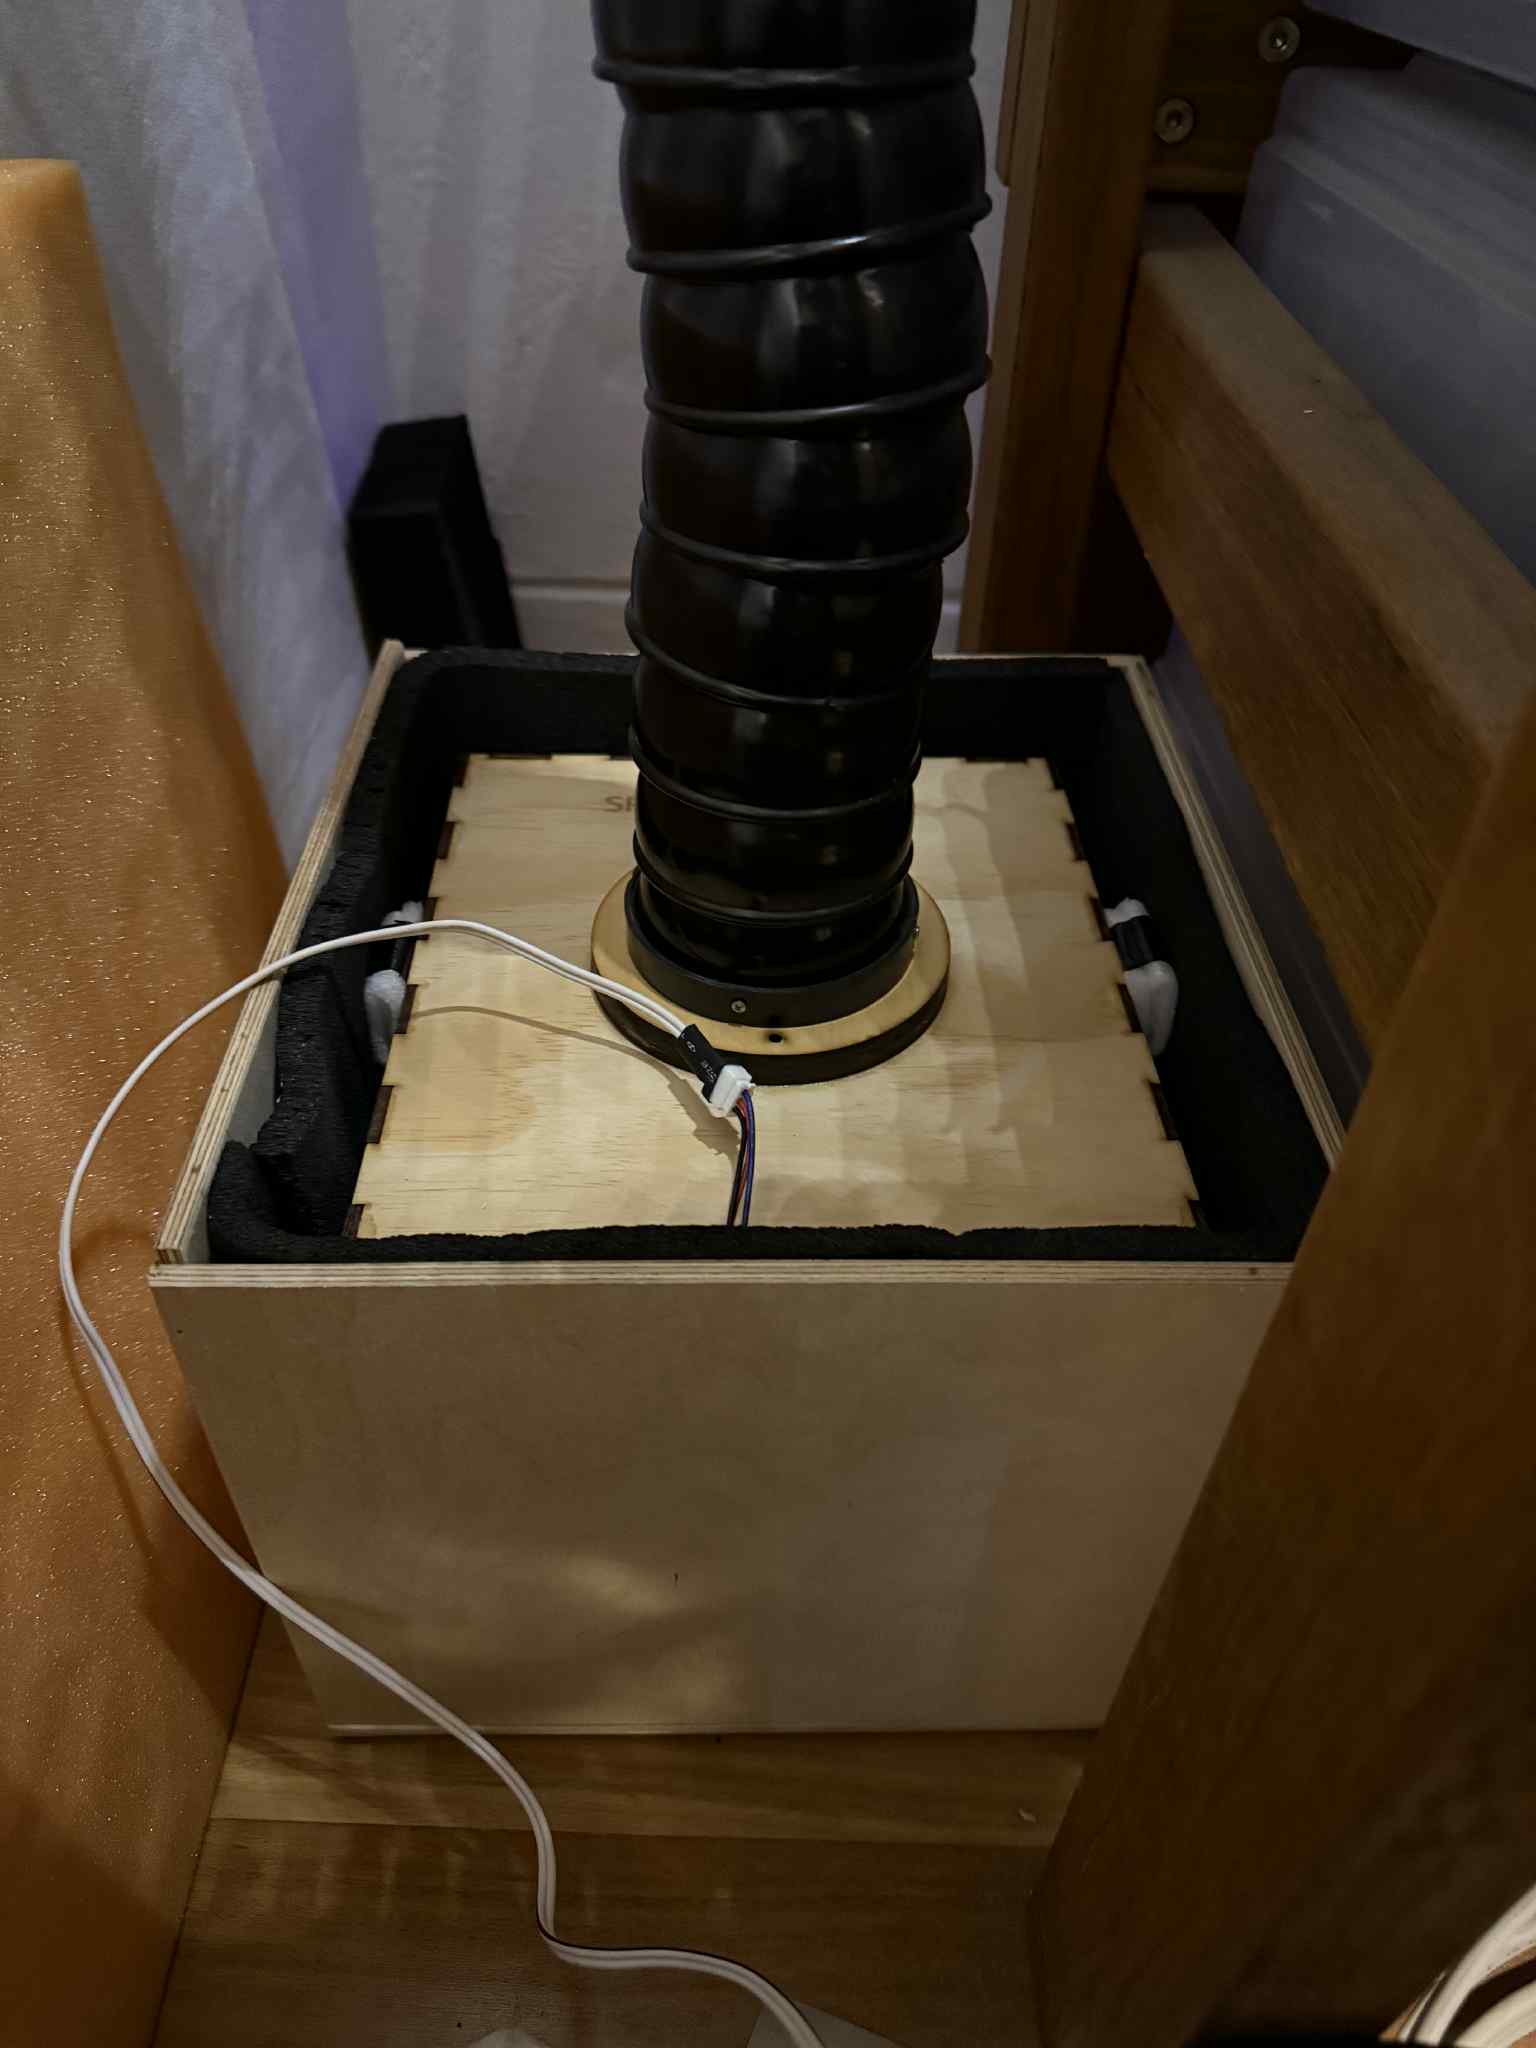
A quick dump of info about my Soldering Fume Extractor version 4 to help others make it! I will try to flesh this out in future.
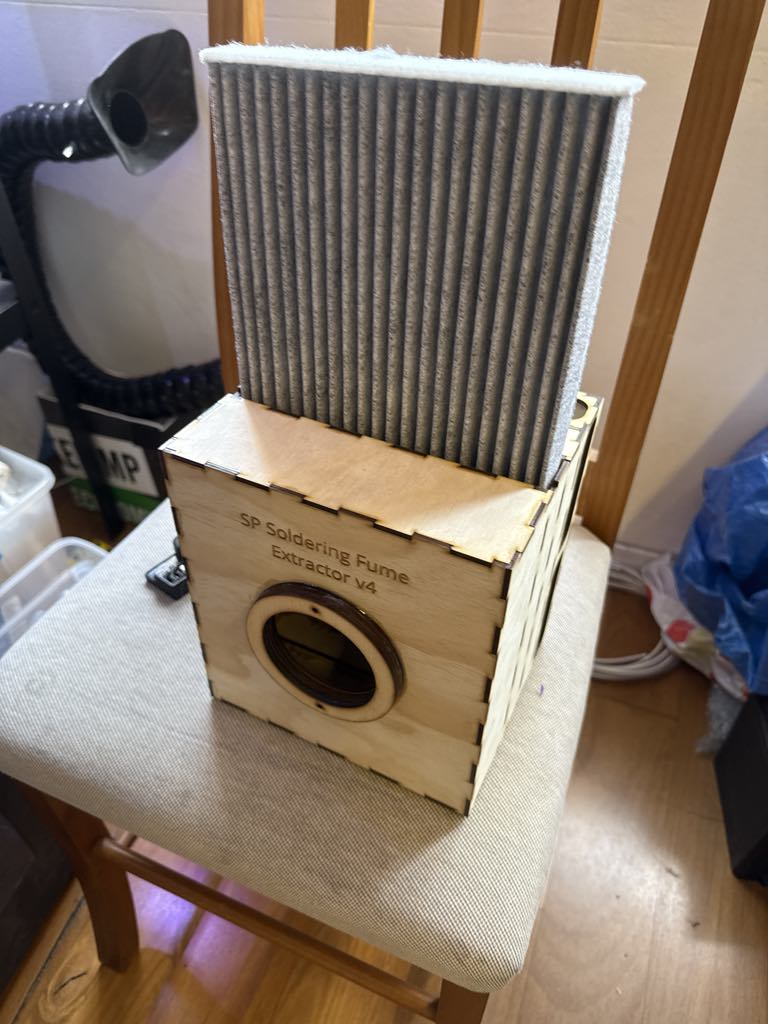
All together this will assemble a fume extractor for about AU$120. It is very compact, cheap, laser-cuttable nearly anywhere, fairly powerful, and as quiet as commercial under-desk fume extractors I've used. The filters are also cheap ($7) and even available off-the-shelf from car mechanics. It works in any orientation.
Caveats: it's not physically very strong, especially where the fan is mounted, which deserves another design iteration. The fan is glued inside at construction. The vibration isolation could be better. It's not sturdy enough not to fall over with a heavy extraction tube on top without additional support.
Parts
- Laser cut 3mm plywood parts following the SVG as attached. Note that a few parts require multiple to be cut!
- Download here: Soldering fume extractor v4.1.svg [2024-07-30: Link fixed]
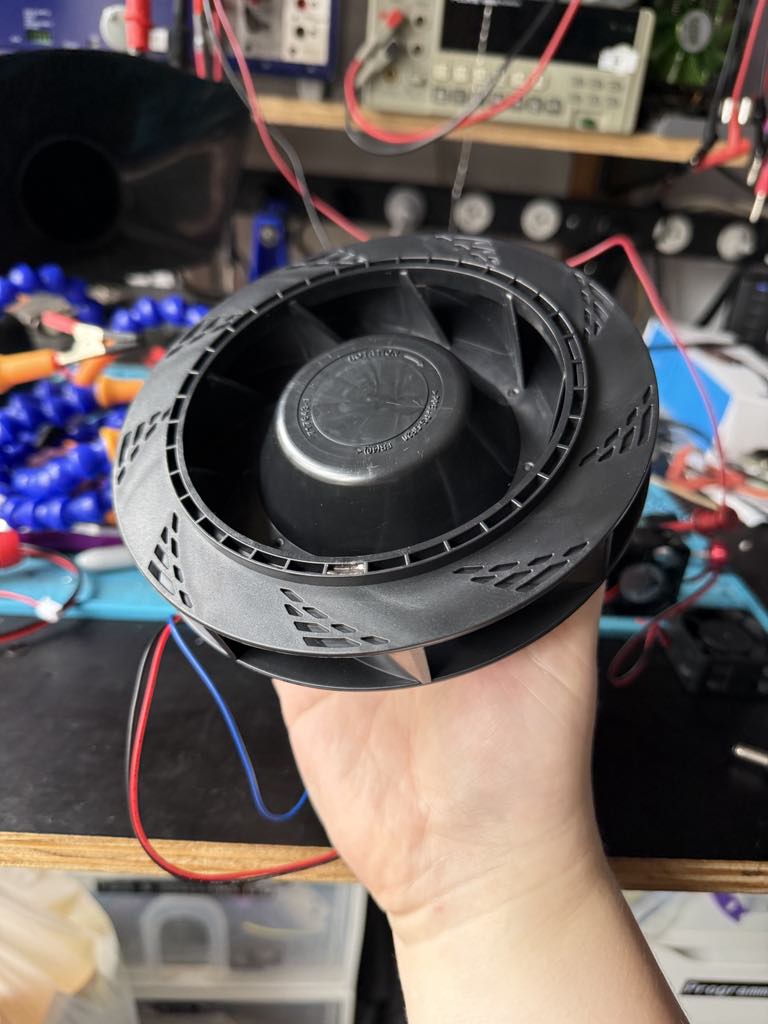
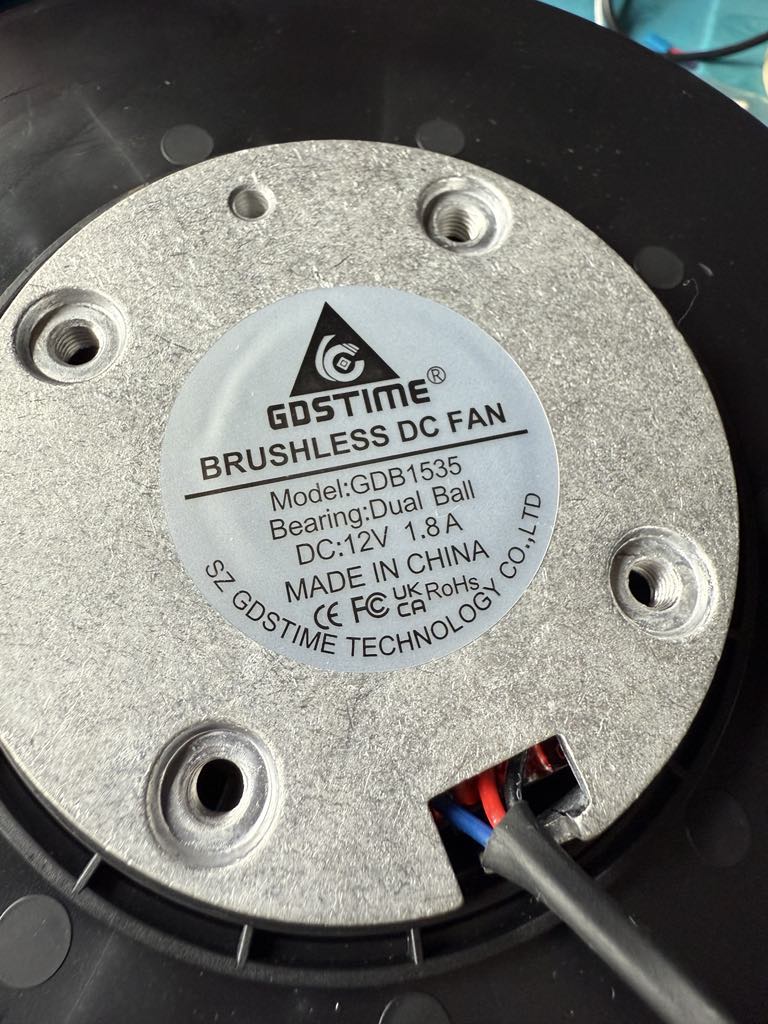
- This exact fan: GDSTime Brushless DC 150*150*35mm 12V cageless centrifugal dual-ball-bearing fan, model GDB1535:
- $40 on Ali-Express: https://www.aliexpress.com/item/1005007587673141.html
- Alternative listing on Ali-Express: https://www.aliexpress.com/item/1005007715178612.html
- A semi-rigid extractor tube with 75mm outer diameter, 1.2-1.6m long (or to suit your workspace).
- Or whatever other tubing suits you to install! You could use a fixed PVC pipe, or flexible hose.
- About $85 on Ali-Express (option "C OD75mm black"): https://www.aliexpress.com/item/4000878162988.html
- Alternative listing: https://www.aliexpress.com/item/1005008261792304.html
- 4x 10-12mm M5 button-head or cap-head screws.
- 8x M5 rubber washers, max 1.2mm thick. Put these between the fan body and the bottom plywood, and under the screw heads, to reduce vibration.
- 1x generic Toyota Camry cabin air filter, 195*215*29mm. I recommend one with an "activated carbon" layer as well as regular filter layers. Get a spare too!
- I used this one from AliExpress: https://www.aliexpress.com/item/1005007003807200.html
- Whatever power switch you desire. I originally planned to use a PWM controller to vary the speed but it was so quiet that it in the end I removed that and just use a simple DC switch on a soldered cable.
- Maybe use this female 2.1mm barrel jack adapter and this inline switch?
- Let your imagination run wild.
- Any 12V DC 2-3A Power supply. I tend to have these spare all over the place after fortuitous hauls from warehouse sales. But please get one that passes a local regulations. I wouldn't trust any you find on AliExpress.
- Some rubber feet for the bottom.
- Eg. these from AliExpress: https://www.aliexpress.com/item/1005006499486703.html
For extra noise reduction:
- Extra wood to make another enclosing box, or an existing box or tub.
- Foam to line that box with.
Construction
Follow the instructions in the SVG file. Magenta is annotation/instructions/guides. Don't cut this layer! Red is raster/engrave and optional. Black is cut lines. It's not the most polished file I'm afraid.
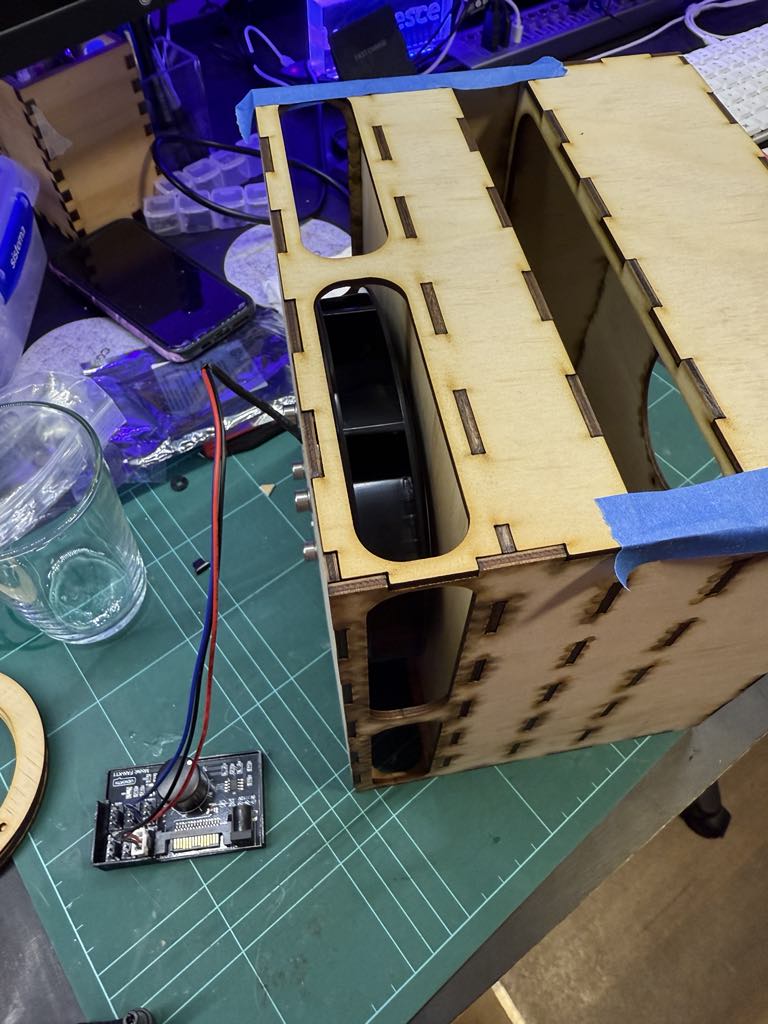
Attach the fan to the plate A with 4x M5 screws and 8x rubber washers. Tighten the screws as needed to keep the gap between fan back plate and wood at approximately 1mm thick, so it sits close to the filter outlet B plate, but doesn't rub against it.
Assemble the box per the guidance and glue with PVA (conventional) or superglue (impatient). Don't glue bottom plate A on without the fan installed! I glued everything except plate A together first, then added plate A with the fan attached last, and used tape to hold it temporarily until I'd made sure it wasn't scraping against plate B, then glued up.
Either solder some wires to a male 3-pin JST XH2.54 connector, or just chop the wires and put your own connector or switch on. Red and black, 12V DC, it's not rocket science.
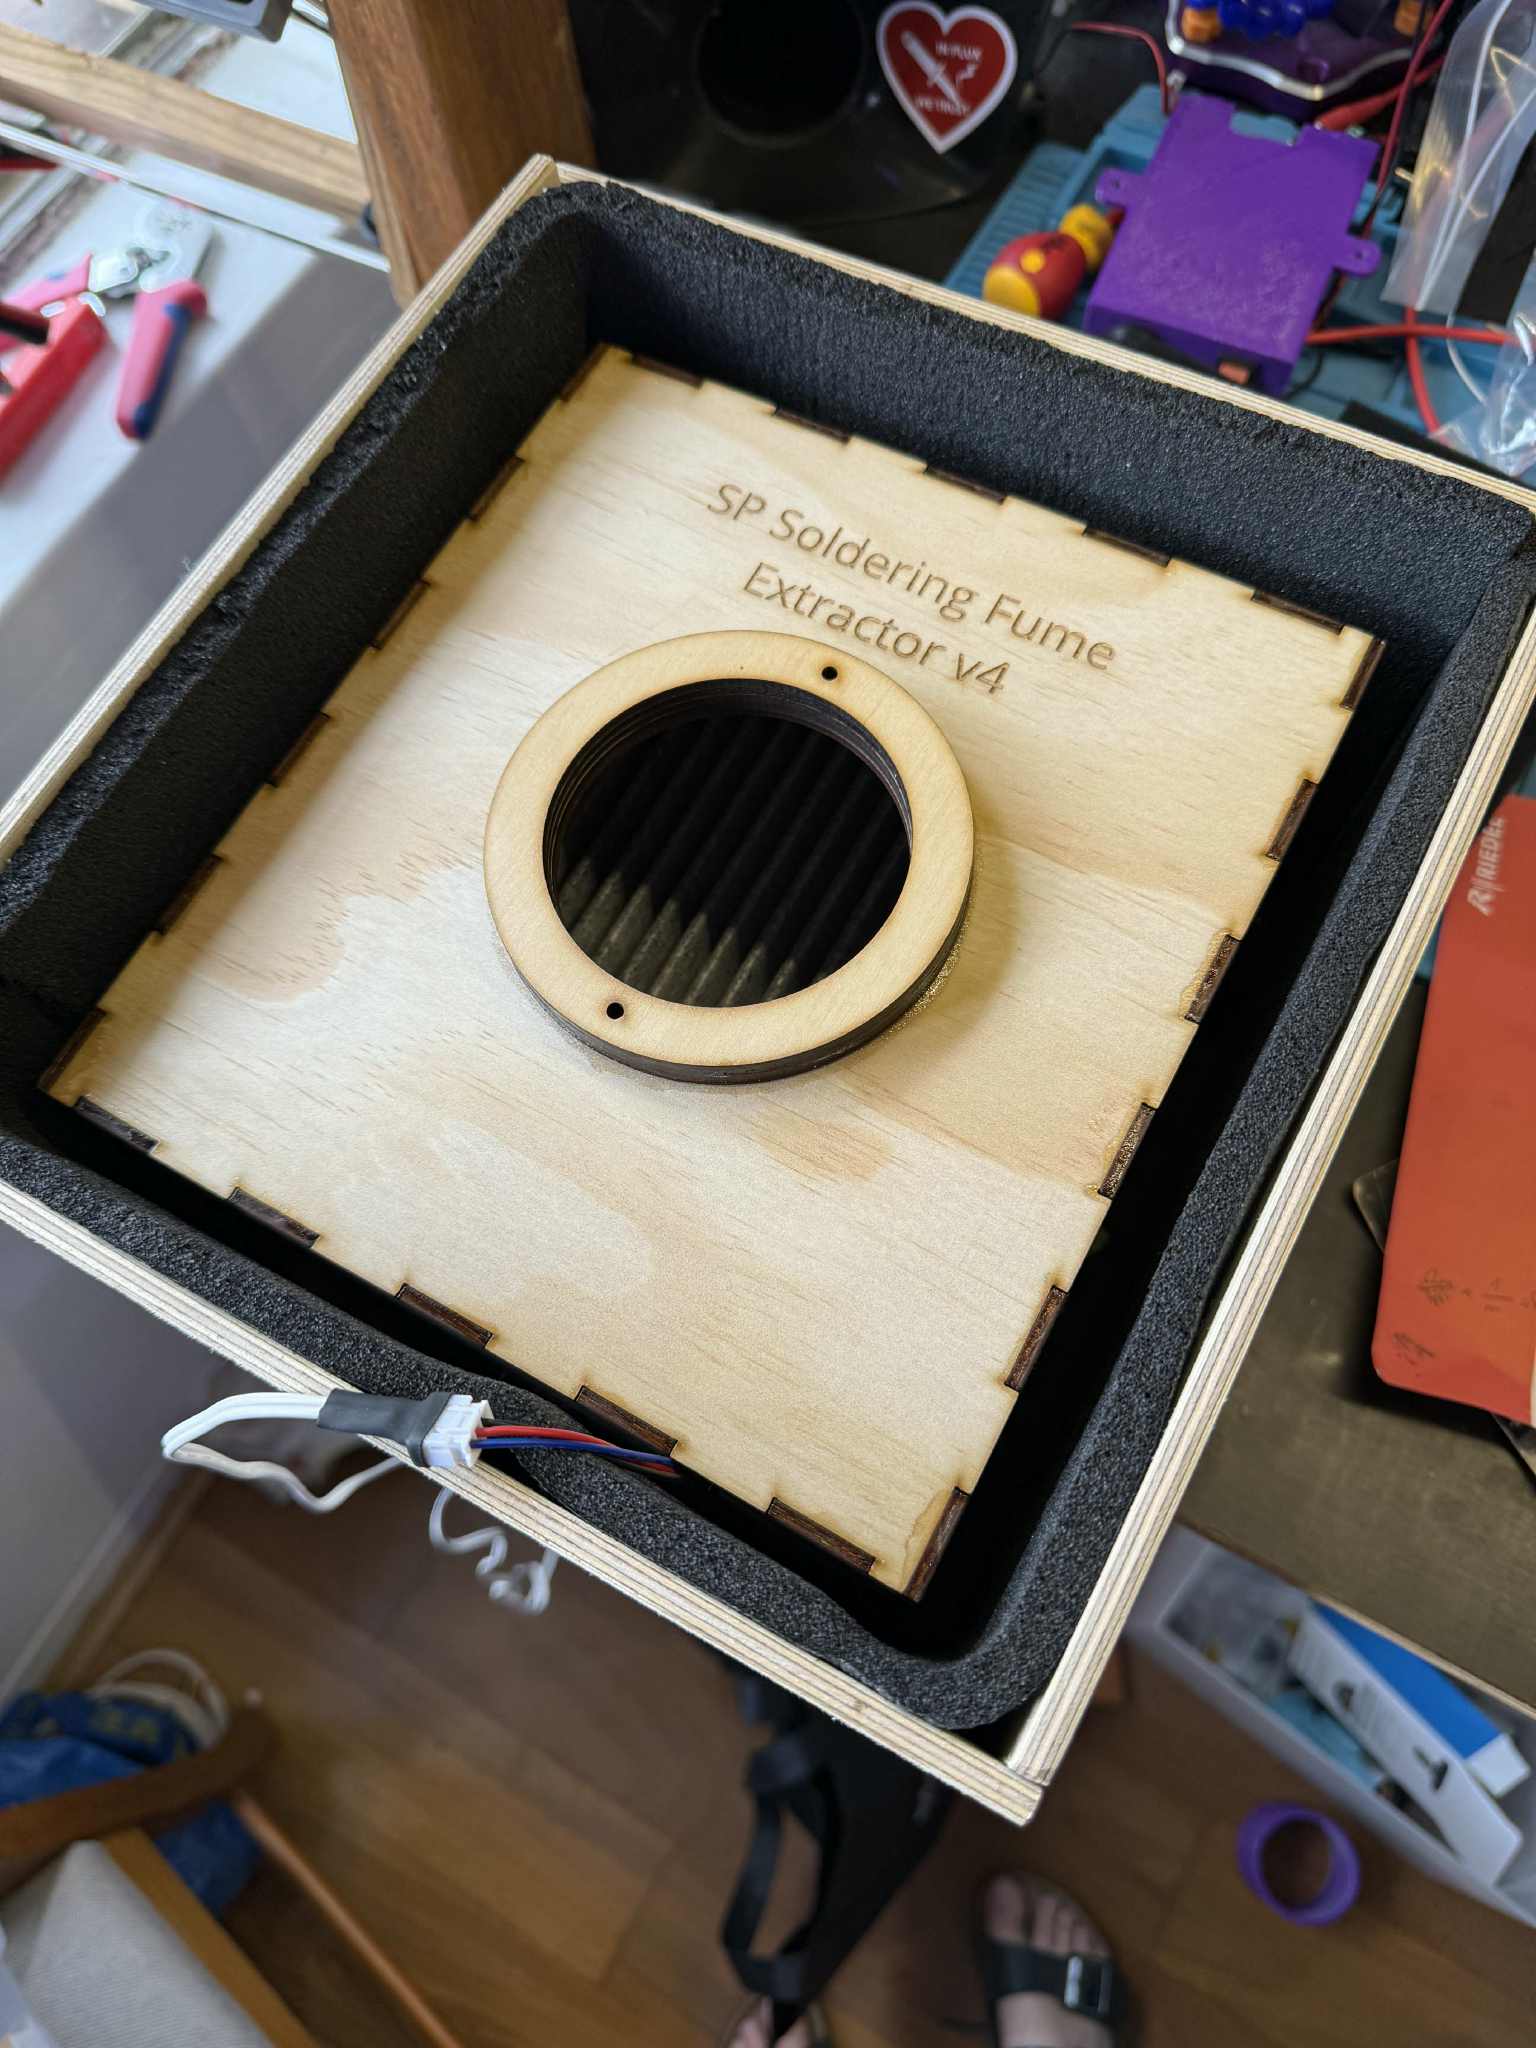
You'll also see in some photos I cut another box out 20mm larger around each side, and lined it with foam, to reduce the noise even more. It's very quiet! If you do this just make sure there's room around the sides for the air to escape.
Put some rubber feet on the box before putting it on the floor, and make sure they're longer than the screws sticking out if you have plate A at the bottom.
Photos
